Menu
1: Creating a mesh
A Mesh is the fundamental building block of a simulation. It divides the model to analyse into smaller elements, the finite elements. The finite elements are defined by their vertices which are called nodes
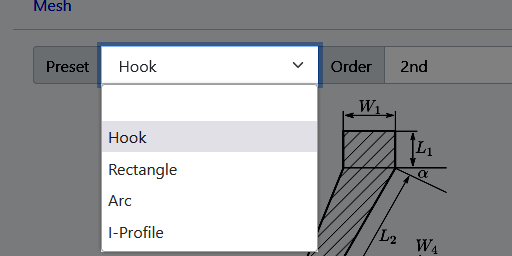
Step 1 Select a preset
You can choose a model preset from a range of predefined models. You can adjust the shape of these presets using the parameters below
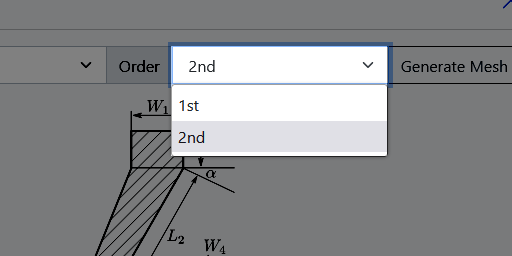
Step 2 Choose the order
One can choose the order of elements used. The choice can be made between first and second order. Second order usually yields more accurate results at the cost of slightly longer computation times.
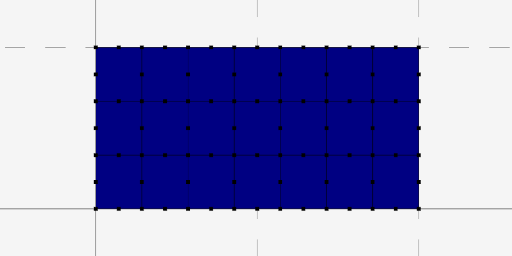
Step 3 Generate the mesh
Click the Generate Mesh button in order to generate the mesh with the selected order and choosen parameters from the previous two steps. You can see the mesh in the main screen.
2: Assigning material
The mesh describes the physical shape of the object. To evaluate its deformation under a set of forces and constraints, it is required to specify the material which is being used. There are two options to do this, one advanced way with custom material properties and one simple way where you can choose a material from a list of predefined materials.
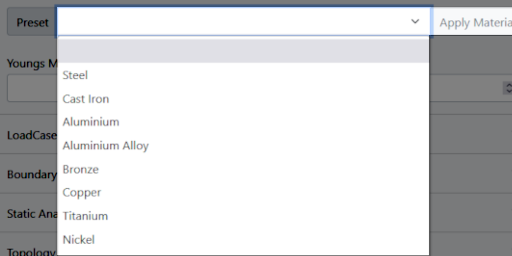
Simple
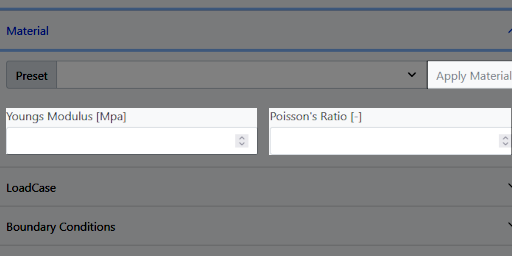
One can choose one out of the predefined materials. It will look up the material data inside a database. After selecting the material of choice, make sure to hit Apply Material button. You can verify that the material has been applied by looking at the Analysis-Menu which should show a green checkmark
Advanced
If you have information about your material, especially the youngs modulus and the poisson ratio, you can instead simply put those numbers into the given fields and hit the Apply Material button. You can verify that the material has been applied by looking at the Analysis-Menu which should show a green checkmark
3: Creating supports
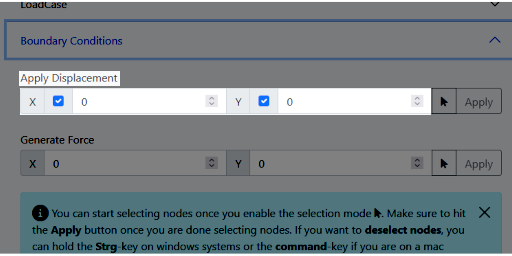
After describing the model, all we need is a set of constraints. These constraints will make sure that our model can not move into certain directions. The simplest constraint is a fixed support which simply constraints one or more nodes into the x, y or both directions.
Step 1
To set a constraint, one needs to open the
Step 2
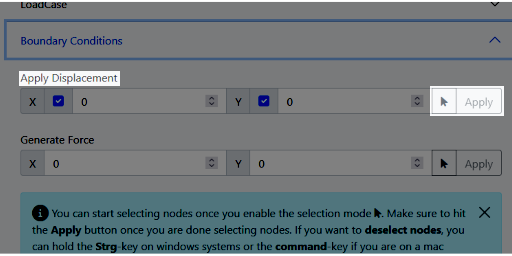
To actually start selecting nodes, one needs to click on the small mouse-button . This will allow you to start selecting nodes by clicking on them with the left mouse-button. After the selection is done, make sure to hit the Apply button
4: Applying forces
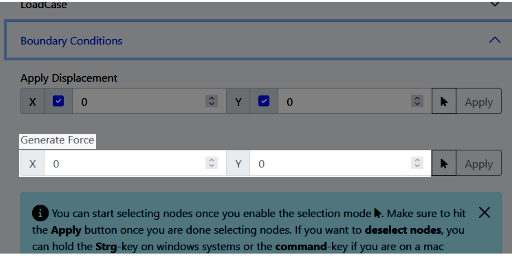
Now that the model is defined and properly constrained, the last part would be to actually apply forces. These forces can be applied similar to the constraints.
Step 1
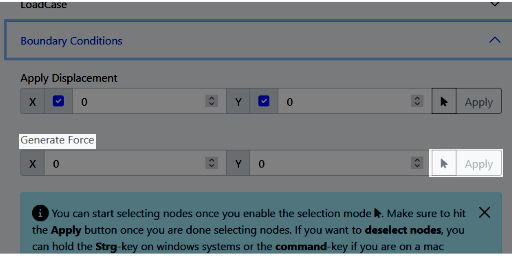
To set a force, one needs to open the
Step 2
To actually start selecting nodes, one needs to click on the small mouse-button . This will allow you to start selecting nodes by clicking on them with the left mouse-button. After the selection is done, make sure to hit the Apply button and you should see some force-vectors at the previously selected models.